DIY Yarn Hat Ornaments: A Super Cute Craft Project | Blogmas Day 9

Ever looked at your holiday decorations and thought, “I could totally make something adorable and unique”? Well, today I’m sharing my absolute favorite some DIY yarn hat ornaments that’ll have you creating the cutest little decorations in no time. The cool thing is that you can do it with your little ones at home while watching TV.
What You’ll Need:
- Yarn (pick your favorite colors!)
- Cardboard tube (perfect occasion to recycle that empty toilet paper roll)
- Scissors
- Cotton balls (or leftover yarn scraps)
📌 Related article: 6 Adorable Christmas Gift Wrapping Ideas for Kids (That Adults Will Love Too!)
Step-by-Step Guide

1. Prep Your Base
Grab that cardboard tube and cut it into rings about 2-3 cm thick.
Pro tip: The thickness of these rings will determine your hat’s base size, so play around and see what looks good to you.
2. Yarn Wrapping Magic
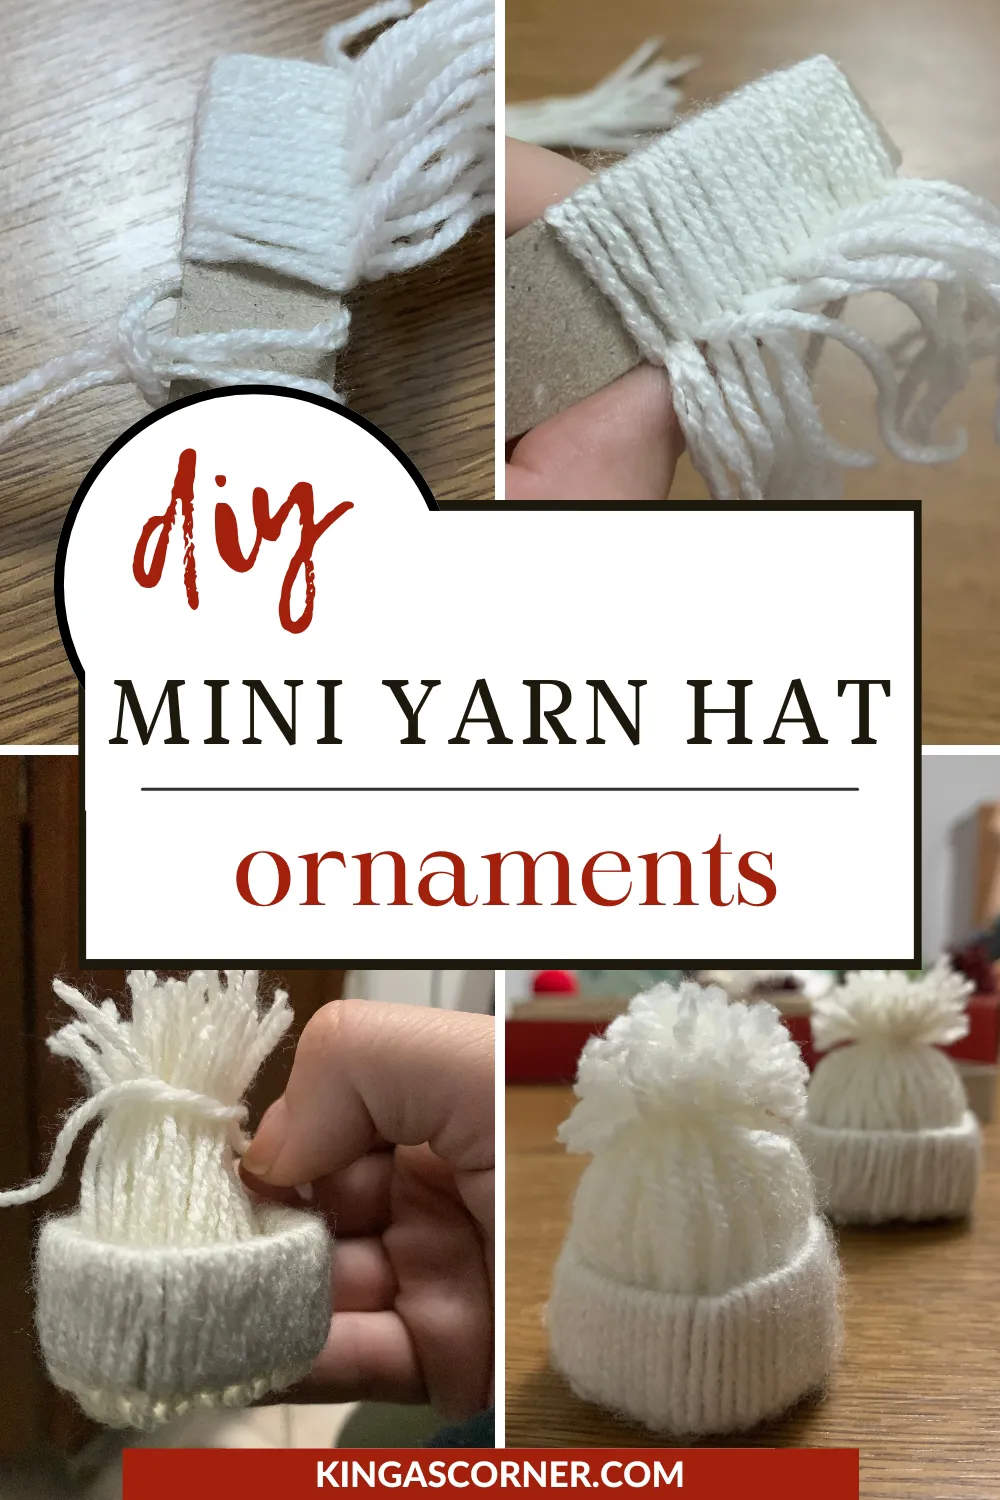
Time to get cozy with your yarn. Find something like your phone or a small notebook to wrap around. I usually go for 30-40 wraps, but your yarn might be thicker or thinner, so adjust as you go.
3. Yarn Prep
Snip those yarn wraps at both ends. Now you’ve got a bunch of individual yarn pieces ready to transform into something adorable!
4. Ring Filling
Take a piece of yarn, fold it in half, and create a loop through your cardboard ring. Keep going until the entire ring is covered.

5. Inside-Out Trick
Push all those yarn ends through the hole. We’re basically turning this little hat inside out – magic, right?
6. Secure the Top
Grab a smaller piece of yarn and tie a double knot around the yarn ends. This creates that classic hat shape we’re going for.
7. Create the Pom-Pom Top
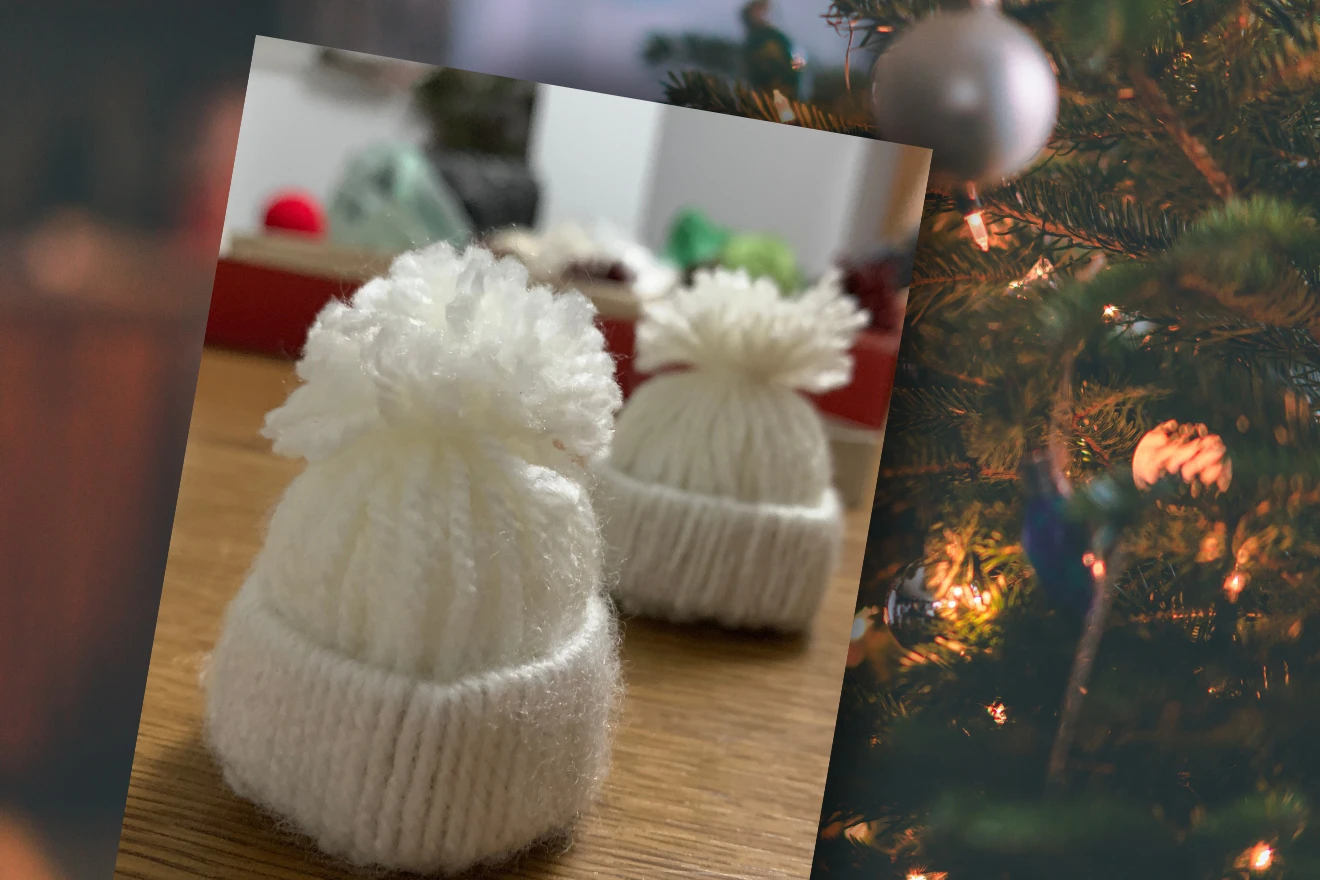
Trim those yarn ends to create a cute ball shape for the hat’s top. I love how each one turns out slightly different!
8. Add Some Stuffing
Pop a small cotton ball inside – or use those yarn ends you trimmed earlier. It gives the hat a bit of volume and character.
Want something even cooler? Add a Ferrero Rocher chocolate (or any other similar chocolate) inside the hat. Voilà, you have some nice and delicious tree ornaments.
9. Ornament Transformation
Want to hang these mini hats? Take a longer piece of yarn and tie it around the hat’s ends. Now you’ve got a perfect little ornament to hang out your tree, wreath, or honestly, anywhere you want some handmade charm!
📌 Related article: 9 Advent Calendars for Kids Worth Buying
Pro Tips:
- Experiment with yarn colors – metallics are super festive!
- You can even combine multiple colors to create something truly unique
- These make incredible personalized gifts
- Try different sized cardboard tubes for variety
FAQs about DIY Yarn Hat Ornaments
-
How long does this project take?
About 30-45 minutes from start to finish, perfect for a cozy afternoon craft session in front of the TV.
-
Can kids help with this project?
Absolutely! With adult supervision, older kids can definitely join in the fun. Younger children might help with yarn selection or stuffing.
-
How do I store these ornaments?
Store them in a cool, dry place. Consider wrapping them in tissue paper to keep them dust-free during off-season storage.
-
What if I don’t have a cardboard tube?
Get creative! You can use paper towel rolls, gift wrap tubes, or even make a cardboard ring from a cereal box.
Conclusion
These adorable DIY mini hat ornaments are more than just decorations – they’re a chance to get creative, spend quality crafting time, and add a personal touch to your holiday decor.
Each ornament tells a story, and yours will be uniquely yours!
Want ideas delivered straight to your inbox? Join my community today and never miss out on fresh, fun content that will make parenting even more rewarding.
Happy ornament making,
Xx Kinga
Related posts
Pin it for later!